For many businesses, understanding customers is key to success. It’s an effective way to measure how your next product or service should be released. When it comes to surveys, there’s a myriad of solutions out there, some that are free and others that aren’t. If you’re an Office 365 user, you may have heard about the Microsoft Forms application, a survey solution that is accessible through most Office 365 plans.
Microsoft Forms provides a great platform for companies to host surveys and quizzes in order to better understand how clients and viewers feel about their products and services. Built as an entirely interactive portal, Microsoft Forms allows your audience to join in and post their opinions and thoughts. The best part is the built-in analytics tools that helps guide you through evaluating the responses you received.
Microsoft Forms can be accessed from a variety of devices, including modern browsers and smartphones. The fact that you can customize your questions and make them more suitable to your business requirements makes this application all the more useful for learning more about how your customers feel.
Need more help on selling Office 365? Download our Definitive Office 365 Sales Guide.
Creating a Microsoft Form
So, we know that Microsoft Forms can go a long way in helping us evaluate the opinions of our target audience. But, how do you create a form? Let’s go through the steps in greater detail.
Step 1: Open your web browser on your system, and visit forms.microsoft.com. This is where you will start making your own form.

Step 2: Here, you will be required to sign into your Office 365 account. If you do not already have an account, go ahead and make one.
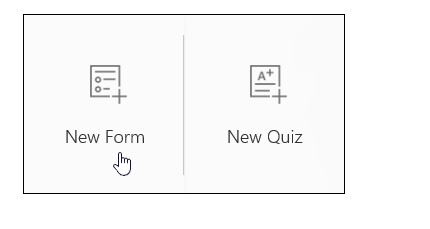
Step 3: On your account page, you will come across an icon called ‘My Forms’. Click on ‘New Form’ to start working on the form.
Step 4: The first step is naming your form and filling out the required details. The optional description (subtitle) field makes it easier for your targeted audience to understand what the form is about. Keep in mind that there is a character limit of 90 for the form name and 1000 for the description.
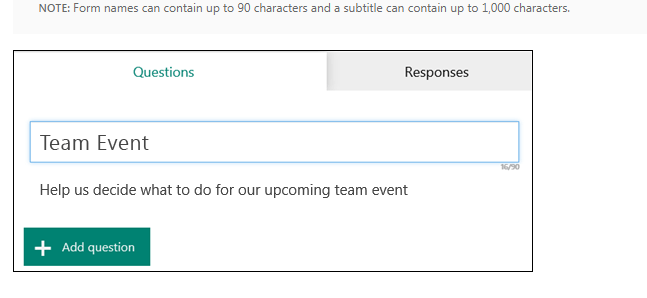
Step 5: Next up is adding a question to your form. Go ahead and click on the ‘Add Question’ button to begin. The available question formats are a choice between two options, a written response, a rating/poll, and a date-based question. Let’s take a look at how each of these question formats can be used.
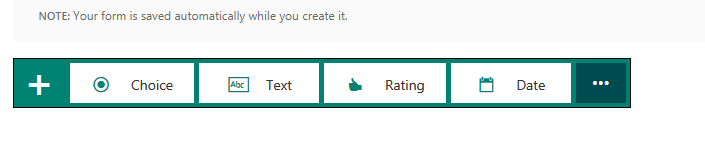
- Choice: This is a straightforward multiple-choice format that allows you to write up a question and specify multiple options for selection. As you type your question, the app will automatically recommend options to help you build your form.
![Step 5 Choice]()
- Text: This is quite simple. All you do is specify your question, and the user will just submit a written response in the provided text box.
- Rating: This type of question allows users to rate your question on a custom scale. For instance, you can configure the question such that valid answers range from 1 to 5.
- Date: Answers to this type of question are restricted to a date format.

Step 6: Next, let’s preview the form to judge how it looks from a visitor’s perspective and to test its functionality. To get started, click the Preview icon at the top of the design window. When previewing questions, simply insert dummy answers to test how the form works.
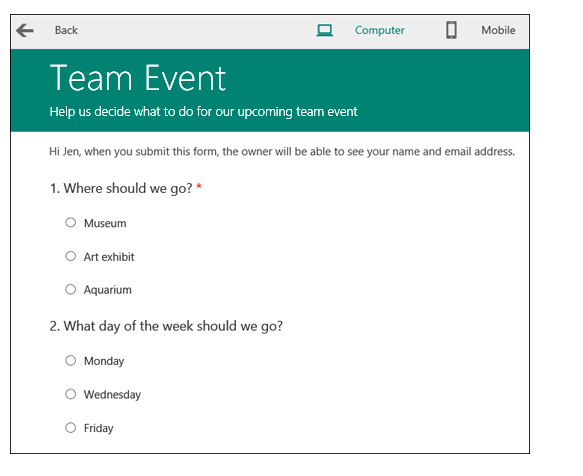
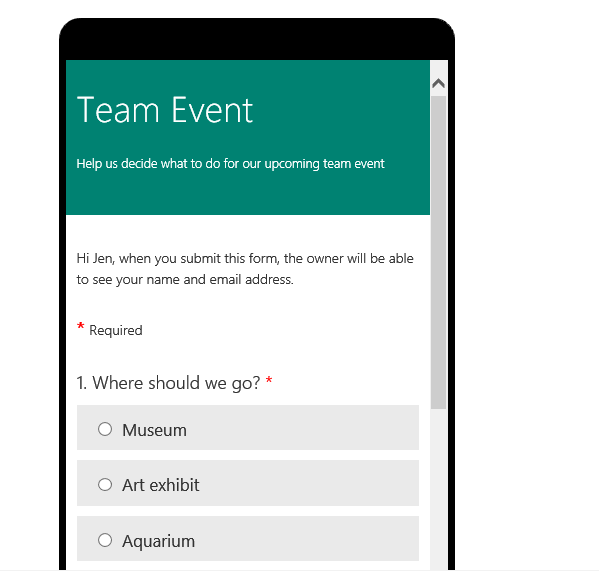
Step 7: One of the most important standards for any web page today is accessibility. Your form needs to be readable on computer or laptop screens as well as on mobile devices so users aren’t limited to just one or two options. You can check what your form looks like on a mobile device by selecting ‘Mobile’ in the top-right corner of the testing screen.
Step 8: Once you’ve tested your form and ensured that it’s working properly, you can go ahead and submit it. Later, you can share the form with others and invite viewers to submit their responses.
This completes the process of creating and working with your form.
Working with Microsoft Forms
Microsoft Forms is one of the best platforms for gaining insight into your target audience’s thoughts. Here are some features of that make it the ideal polling platform.
Number of responses
For every Microsoft Form that you post online, you can get a total of 5,000 replies. This is quite a large number. You can also get more replies by exporting polling data to a spreadsheet to free up space.
Reaching out to people
What happens if you send an invitation for your questionnaire to someone who doesn’t have an Office 365 account? The answer’s simple. People outside the Office 365 community can also participate in these surveys and quizzes. However, their answers will be anonymous unless you insert a question asking for their names.
User-friendly
One of the reasons why Microsoft Forms has become so popular is its user-friendly interface and ease of navigation. You do not need any special knowledge to use the platform, as it comes with crystal-clear instructions.
Customization
Apart from keeping questions specific to your line of business, you can also make other changes to the form to make it appealing to users. For instance, changing your form theme is a good start. You can also go ahead and block all access to the internet when the questions are being answered to improve confidentiality and security.
Sharing the form
How do you reach people with your questionnaire? A Microsoft Form can be embedded or linked in any web page, inserted in OneNote online, and so on to attract users from a variety of sources, allowing you to target more people.
Whether you are a supplier looking to get feedback from clients, an educator seeking to assess student progress, or someone simply interested in gathering opinions, Microsoft Forms has got you covered. Built as a simple, standalone application, Microsoft Forms offers flexibility and customization so you can create clear, professional forms. We hope you found this guide helpful.

The post How to Use Microsoft Forms in Office 365 to Survey Customers appeared first on SherWeb.